Post 14 of 29 in the AZ Hive series
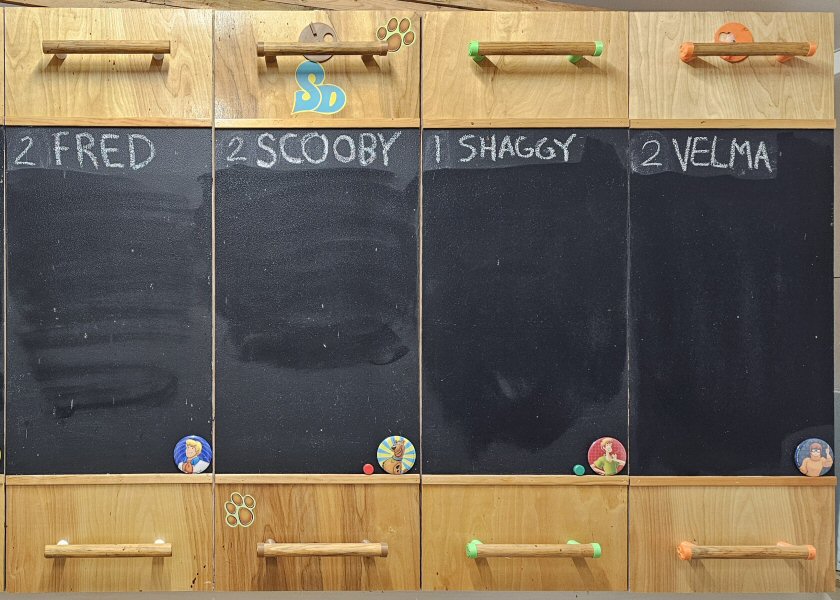
The outer door is the part of the hive everyone sees. One big painted-plywood panel per hive, covering all four chambers behind it. Six hives, six outer doors — and every one of them is a chalkboard.
The build. Plywood, sized to cover the full chamber stack. Metal primer first (the kind with iron particles mixed in, so magnets stick), then chalkboard paint over the top.
The idea was double duty — give the chalkboard surface a smooth base AND make it magnet-receptive so I could stick magnets to the door for status notes. The chalkboard part works fine. The magnet part… works, but not as well as I’d hoped. Magnets stick, but they slide around easier than they should. If I were doing it again, I’d layer in a thin sheet of actual ferrous metal underneath the chalkboard paint instead of relying on the primer.
The hardware. Each door has two dowel-rod handles, mounted on plastic standoffs so the wood doesn’t pull tight against the door face. At the bottom of the door is a bar with alignment pins that drop into matching holes in the bottom of the hive — the door self-positions when you set it in place. At the top, a magnet holds the door closed.
(I mentioned earlier that the locking-bar screws inside each hive are color-matched to its theme — the 3D-printed standoffs that cradle each outer door’s handles are color-matched too. The dowel ends also get 3D-printed end caps in the same color, with the hive’s icon on them. Same Scooby Doo treatment, applied across every part of the apiary.)
Why chalkboard paint. Because the door is the natural surface for quick-glance information. I write directly on it with chalk: how many chambers are open, what I noticed last inspection, anything that helps me orient before I open the hive up. The doors are basically dashboards.
How we actually use those chalkboards is the next post — there’s a system to what goes where.
Next: How I Mark Frames and Hives — the chalkboard convention and frame-marking shorthand we use to stay organized.
Leave a Reply